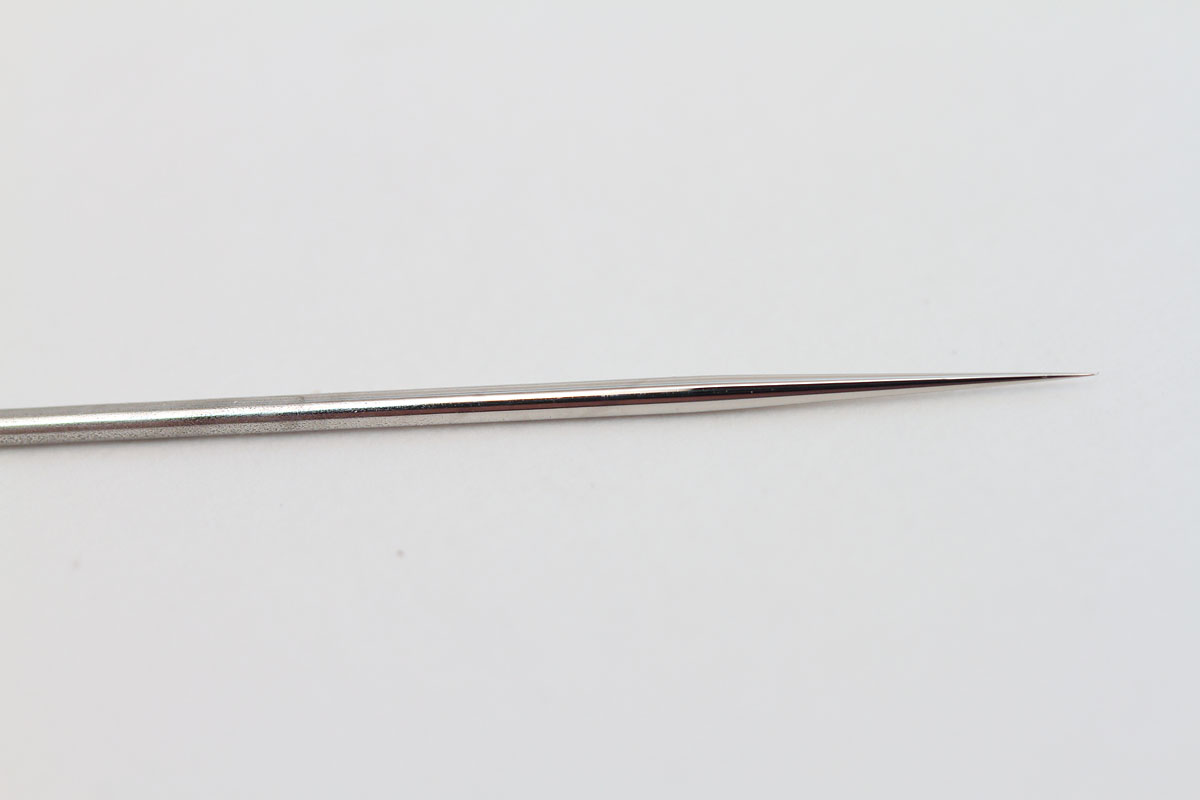
Airbrush Needle Position. This is a helpful video on how to adjust the needle gasket which causes a skipping line pattern when airbrushing. The needle should be wiped down with a soft cloth saturated with the appropriate cleaning agent. Position the airbrush close to the surface, between 1/16 and 1/2 inch is common. Fold a soft cloth damp. The needle position, which controls the size of the spray area, is adjusted by turning a dial at the end of the airbrush body opposite the nozzle. Unscrew the handle from the airbrush body. Gently pull the needle straight out. If residue on the needle is still apparent it may be. Paint is held in a cup on top of the airbrush and is prevented from entering the rear of the brush by the needle seal, which is sometimes called a. Pull the main lever back slightly to start the flow of paint. When reassembling your airbrush, first replace the nozzle and lightly snug tight with the provided wrench. Loosen the needle chucking nut.
from www.internetmodeler.com
Pull the main lever back slightly to start the flow of paint. Paint is held in a cup on top of the airbrush and is prevented from entering the rear of the brush by the needle seal, which is sometimes called a. The needle should be wiped down with a soft cloth saturated with the appropriate cleaning agent. When reassembling your airbrush, first replace the nozzle and lightly snug tight with the provided wrench. Loosen the needle chucking nut. If residue on the needle is still apparent it may be. Position the airbrush close to the surface, between 1/16 and 1/2 inch is common. The needle position, which controls the size of the spray area, is adjusted by turning a dial at the end of the airbrush body opposite the nozzle. This is a helpful video on how to adjust the needle gasket which causes a skipping line pattern when airbrushing. Gently pull the needle straight out.
Modeler Airbrushing 101 The Airbrush
Airbrush Needle Position This is a helpful video on how to adjust the needle gasket which causes a skipping line pattern when airbrushing. This is a helpful video on how to adjust the needle gasket which causes a skipping line pattern when airbrushing. Pull the main lever back slightly to start the flow of paint. Gently pull the needle straight out. When reassembling your airbrush, first replace the nozzle and lightly snug tight with the provided wrench. Position the airbrush close to the surface, between 1/16 and 1/2 inch is common. The needle position, which controls the size of the spray area, is adjusted by turning a dial at the end of the airbrush body opposite the nozzle. Loosen the needle chucking nut. Fold a soft cloth damp. Unscrew the handle from the airbrush body. Paint is held in a cup on top of the airbrush and is prevented from entering the rear of the brush by the needle seal, which is sometimes called a. If residue on the needle is still apparent it may be. The needle should be wiped down with a soft cloth saturated with the appropriate cleaning agent.